Using cPanel makes it far simpler to install WordPress. To do so, follow these instructions.
1. Log into your cPanel account.
2. Scroll to the Softaculous App Installer.
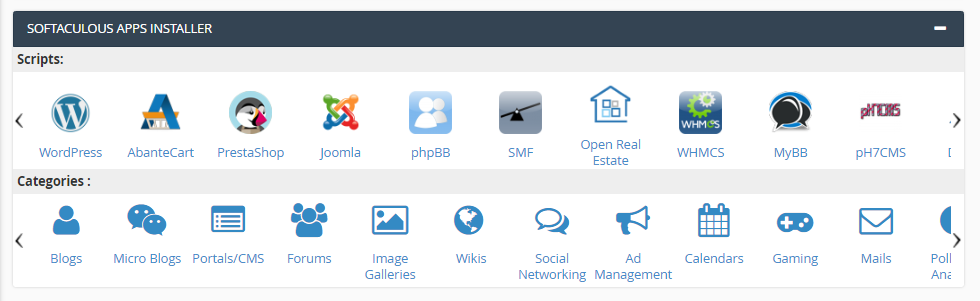
3. Click on the WordPress icon.
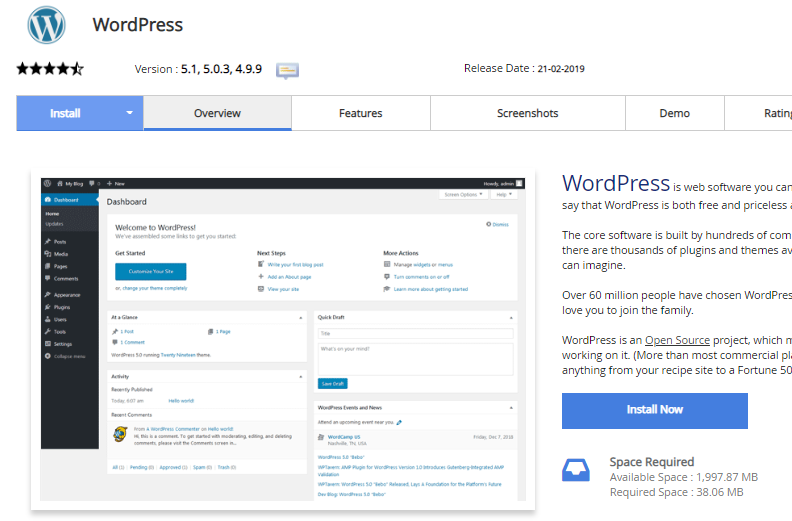
4. When the WordPress page opens, click on the Install Now icon.
The page which opens provides you with two options a quick install or a custom install.
Choosing the Quick Install option
Here are the instructions for the quick install option.
1. Click on the down arrow on the blue Install Tab.
2. Select the Quick Install option.
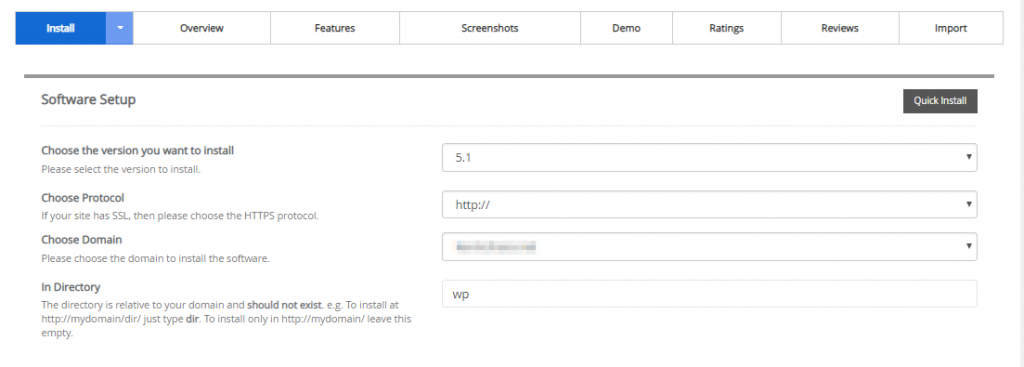
3. Fill in the installation details on the form provided. These include the domain name, the directory, admin login details, etc. You will also be given the option to choose a theme for your site.
4. When finished, click the Install button and wait for the process to complete.
5. Once complete, Softaculous will provide links to your installation and your WordPress admin page.
Choosing the Custom Install option
Here are the instructions for the custom install option. These are similar to those for the quick install but there are more options for you to choose from, including advanced options regarding your MYSQL database.
- Click on the down arrow on the blue Install Tab.
- Select the Custom Install option.
- Fill in the installation details on the form provided.
- When finished, click the Install button and wait for the process to complete.
- Once complete, Softaculous will provide links to your installation and your WordPress admin page.
Leave A Comment?